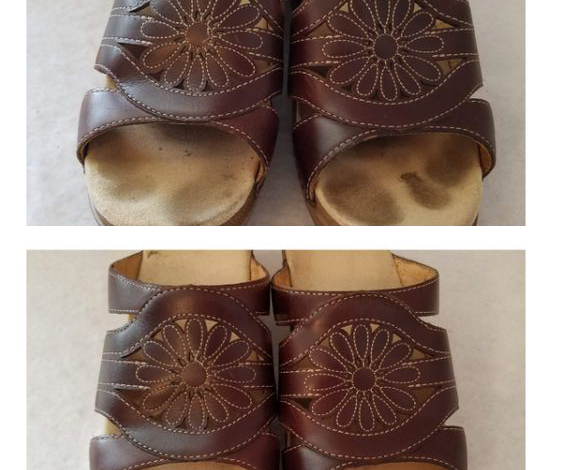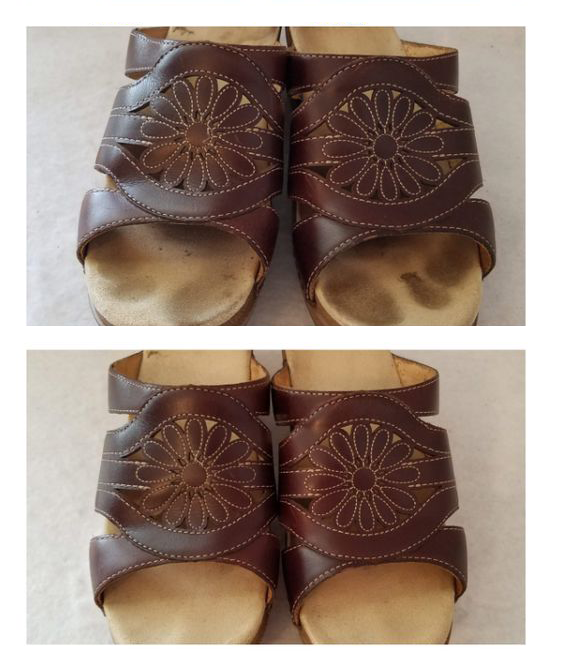
HOW TO CLEAN TOE AND FOOT MARKS OFF SANDALS
In this guide, we’ll show you how to effectively remove those unsightly toe, foot, and heel marks from your beloved sandals. With just a few simple steps and some common household items, you can have your sandals looking fresh and clean in no time.

Gather Your Supplies
Before you start cleaning, make sure you have the following items on hand:
- A can of spray shoe cleaner (a carpet and upholstery cleaner spray should also suffice).
- An old, soft toothbrush that you don’t intend to use ever again.
- An old washcloth or dishcloth.
Test the Cleaner
To begin, it’s crucial to test the cleaner on a discreet area of your sandal insoles. This will help you avoid any unexpected effects on your sandals.
Apply the Cleaner
Once you’ve confirmed that the cleaner is safe to use, thoroughly spray the stained insoles with it. It’s essential to ensure they are visibly saturated, but be cautious not to immerse your sandals entirely in any liquid.
Allow the Cleaner to Work
Give the cleaner some time to seep into the sandals. However, make sure not to let them dry completely during this process.
Scrub Away the Marks
Now, it’s time to tackle those stubborn marks. Moisten the toothbrush under running water and vigorously scrub the tarnished insoles. Remember to rinse the toothbrush under running water every few minutes to prevent inadvertently spreading the dirt back onto the shoes.
Wipe Clean
As the sandals start to appear cleaner, gently wipe the scrubbed surfaces with your cloth.
Repeat as Needed
Rinse the toothbrush under running water once again, proceed to scrub the shoes, and then wipe them with the washcloth. Repeat this process until the cleaning cloth no longer picks up any dirt.
Admire the Transformation
You’ll be amazed by the transformation in your sandals when you’ve finished this process! Say goodbye to those toe and foot marks, and hello to sandals that look as good as new.
In conclusion, cleaning toe and foot marks off your sandals is a straightforward process that can be done with a few readily available supplies. Follow these steps, and you’ll have your sandals looking pristine in no time.


